

Most guides on how to use a metal detector stop at "turn it on and sweep slowly." That gets you moving, but it skips the part that decides whether you find coins or dig bottle caps. That part is reading what the machine is telling you in real time, through its tones and its target ID number. It is also knowing when to trust that reading and when not to.
This guide covers the setup steps every beginner needs, then explains the settings most articles skip. It covers what ground balance and sensitivity do, how to read a target ID number without being fooled by it, and the way iron tricks new detectorists (people who hunt with metal detectors) into digging trash. If you're still choosing your first machine, our beginner metal detector guide covers that step first.
DetectorBrief is a participant in the Amazon Services LLC Associates Program, an affiliate advertising program designed to provide a means for sites to earn advertising fees by advertising and linking to Amazon.com.
Quick Links
| Target ID range (0-99 scale) | Tone | Likely target |
|---|---|---|
| 0-20 | Low, growling | Iron, nails, bottle caps |
| 20-40 | Low-mid | Foil, small iron, some pull tabs |
| 40-60 | Mid | Nickels, pull tabs, some gold jewelry |
| 60-80 | Mid-high | Zinc pennies, smaller clad coins |
| 80-99 | High, crisp | Clad dimes and quarters, silver, brass relics |
Setup That Matters Before Your First Sweep
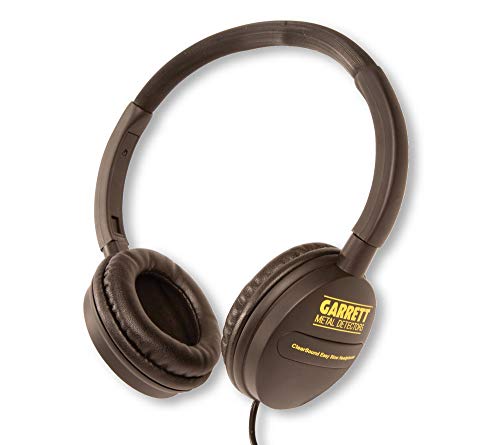
Before you worry about settings, get the physical setup right. Wear headphones from the first outing, not after you get serious. A detector's internal speaker flattens the tone differences you need to hear, and headphones block wind noise that masks faint, deep signals. A basic wired pair is enough to start, and it costs little for how much it helps.
Keep the coil flat and close to the ground on every sweep, a consistent one to two inches, without bouncing it up at the end of each pass. Changing coil height mid-sweep is one of the most common reasons a beginner's target ID numbers seem to jump around for no reason. The detector isn't being inconsistent. The coil is.
Set sensitivity moderately low for your first few outings, somewhere in the middle of the dial rather than maxed out. You'll miss a little depth, but you'll also avoid the constant false chatter that makes it impossible to learn what a real signal sounds like. Turn it up gradually as you get a feel for your specific ground conditions.
Ground Balance: What It Does
Ground balance isn't a ritual you perform and forget. It tunes the detector to ignore the mineral content in the soil itself (iron-rich clay, beach salt, or mineralized rock), so those minerals don't register as a target. Skip it, or get it wrong, and the detector either chatters constantly on ground that isn't hiding anything, or it goes quiet and buries real signals under the noise floor. Beginners skip this step more than any other.
Most VLF (very low frequency) detectors offer automatic ground balance (the machine samples the ground itself and adjusts) and manual ground balance (you raise and lower the coil over bare ground while watching the meter settle). Automatic is fine for most soil. Manual matters more on heavily mineralized (full of natural minerals that can confuse a detector) ground, old homestead sites, and most saltwater beaches, where auto-balance can lag behind what the coil is passing over.
Re-balance anytime the ground changes under your feet, not just once at the start of a hunt. Walking from a dry field into a damp low spot, or from grass onto a gravel path, changes the mineral signature enough to throw off a balance that was accurate ten minutes earlier.
Sensitivity: The Setting Most Beginners Get Backward
The instinct is to turn sensitivity all the way up so you don't miss anything deep. In practice, maxed-out sensitivity on most ground produces so much electrical interference and ground noise that you can't tell a real deep target from static. You end up digging fewer good finds, not more, because the chatter trains you to ignore faint signals altogether.
A better approach: start around 60 to 70 percent of maximum, and raise it in small steps until the detector just starts to chatter on its own, then back off one or two steps from that point. That's close to the real ceiling for your specific ground and coil on that day, and it changes with soil moisture, so it's worth rechecking after rain or in a new location.
Discrimination vs. Tone ID: Two Ways to Hear Trash Before You Dig
Discrimination mode rejects a chosen range of target IDs (a number or tone that hints at what kind of metal is buried) outright. Set it to notch out the iron range, and the detector stays silent over most iron. It's simple, but it's also crude. Discrimination settings that are too aggressive reject good targets that happen to share a target ID range with trash. That is exactly how diggers miss gold rings that read in the same zone as pull tabs.
Tone ID (sometimes called multi-tone) takes a different approach. Instead of silencing anything, it assigns different pitches to different conductivity ranges: low, growling tones mean probable iron, mid tones mean probable foil or a nickel, and high, crisp tones mean probable copper or silver. Nothing gets rejected. You just learn to recognize which tones are usually worth digging in your area and which aren't. Most experienced hunters run tone ID for this reason.
Running tone ID instead of hard discrimination (a setting that ignores signals from metals you don't want, like iron), at least while you're learning, means you dig a few more trash targets early on. But you also learn what your specific machine sounds like on real coins versus real trash. That pays off once you start trusting your ears over the number on the screen.
Reading Target ID Numbers Without Trusting Them Blindly
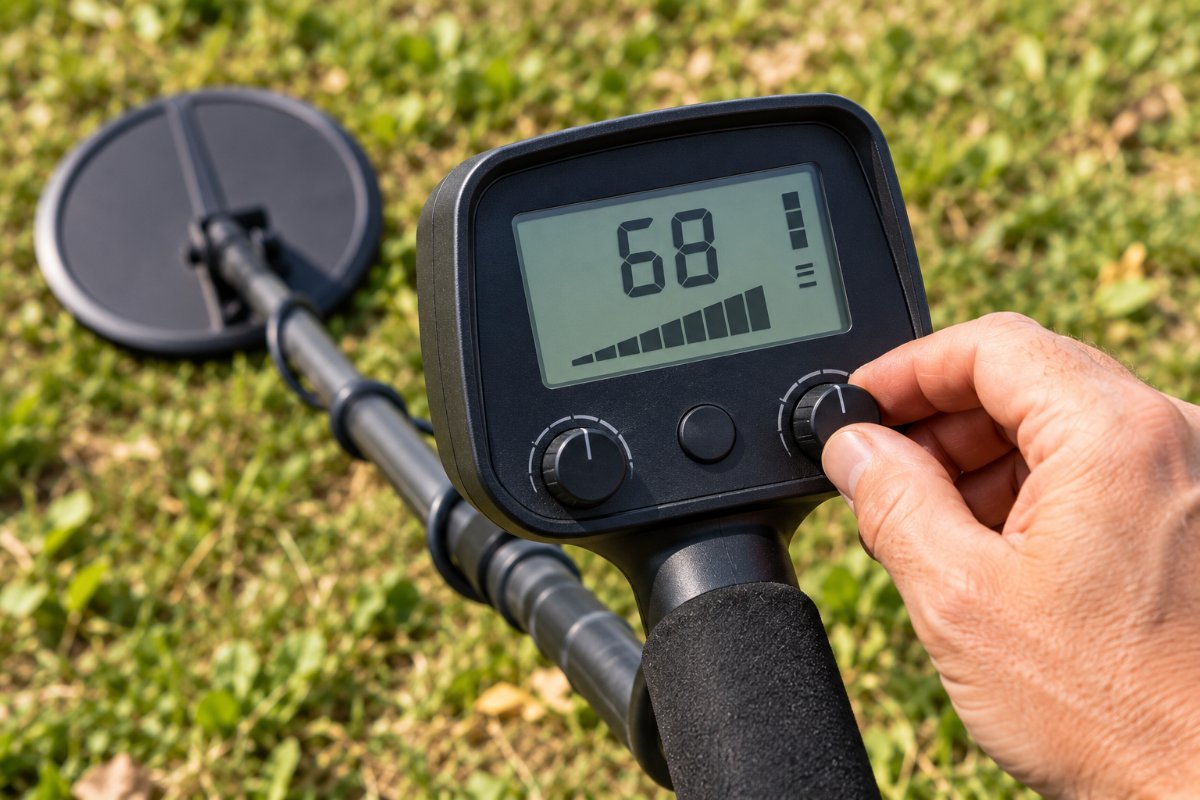
Most detectors with a digital display show a target ID, usually called a VDI number, on a scale that commonly runs 0 to 99. The table above is a reasonable starting map: low numbers for iron, a middle band for foil, nickels, and some jewelry, and high numbers for copper and silver coins. Learn that rough shape first. Garrett's own guide to reading a metal detector covers the manufacturer side of the same scale in more depth.
The part most guides leave out: VDI numbers are not standardized across manufacturers or even across models from the same brand. A clad quarter that reads 88 on one detector can read 76 on another. Treat the number as a probability, not a fact, and always let a stable, repeatable number count for more than a single reading.
A single sweep telling you "72" means less than three sweeps from different angles all landing near 70 to 75. If the number jumps around between passes, that's useful information too. It usually means you're looking at more than one target close together, or iron that's giving a falsed, inconsistent reading rather than a clean target.
Iron Falsing: The Signal That Fools Everyone at Least Once
Iron falsing is when a corroded iron object gives a signal that reads like a good target instead of the low, ugly tone you'd expect from iron. We cover the underlying cause, a conductive mineral halo that forms around rusted iron in the soil, in our how metal detectors work guide. What matters in the field is recognizing it before you dig.
The tell is inconsistency. A real coin gives you a similar target ID and tone from every direction you sweep over it. A falsing iron target bounces: a clean 75 from one angle and a muddy, broken signal from another, with the tone cracking or breaking up instead of staying smooth. If the number and the tone won't repeat, treat it as iron until proven otherwise.
The practical fix is the same every time: sweep the spot from at least three different angles before you commit to digging. A target that reads clean and consistent from all three is worth your time. One that only sounds good from a single direction is very likely iron, and that habit alone will save you more digging time than any setting change.
Sweep Technique: Overlap, Speed, and Coil Control
Sweep in a slow, low, side-to-side arc, overlapping each pass by about half the coil's width. Full, non-overlapping strides leave narrow strips of ground the coil never passes over, and that's where small or deep targets get walked past entirely. Speed matters less than consistency. A slow, steady sweep beats a fast one almost every time.
Keep the coil parallel to the ground through the entire arc rather than tilting it up at the ends of each swing, since that's when coil height changes most and target ID readings get least reliable. Walk in straight, parallel lanes across a search area rather than wandering, so you can tell later which ground you've covered. This habit does more for your results than any single setting.
Pinpointing and Digging a Clean Plug
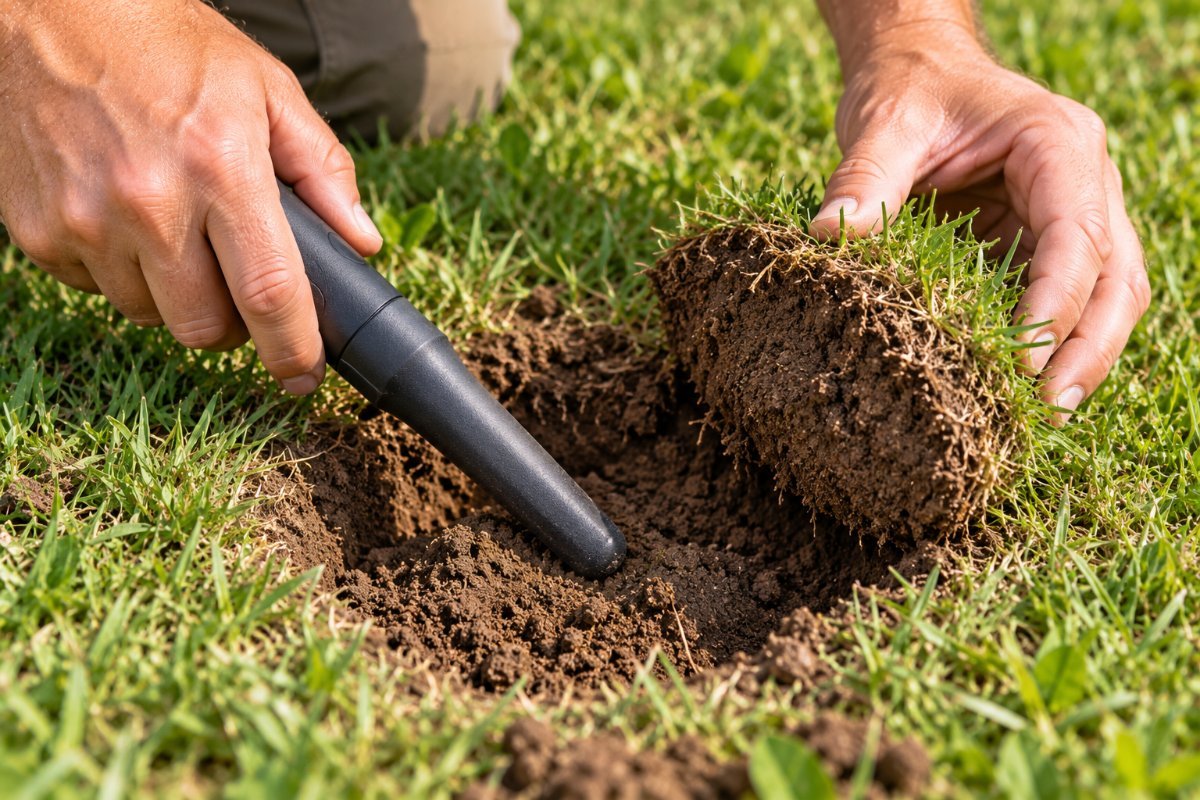
Once you've got a consistent signal, narrow it down before you dig. Sweep an X over the spot where the tone peaks from both directions. The center of the X is close to the target. A handheld pinpointer makes this faster and more precise than swinging the main coil in tight circles, especially once you're already a few inches into the hole.
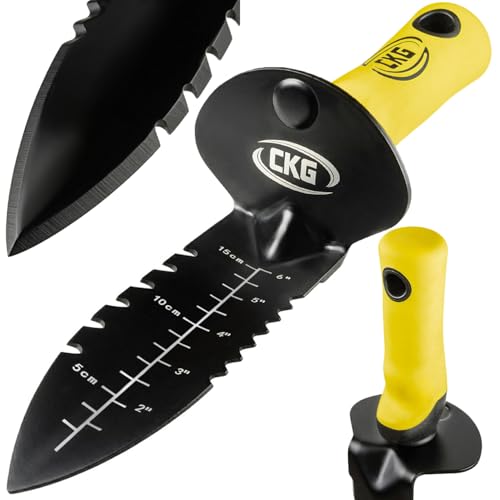
Cut a clean plug rather than an open crater: a hinged flap of turf you can fold back and replace, instead of pulling grass out in loose clumps. A proper digging tool sized for the job makes clean plugs faster and does far less damage to the ground than a garden trowel or a kitchen knife, both of which beginners reach for far too often.
Check the hole itself with the pinpointer (a small handheld probe for finding a target in the dug hole) or coil before you fill it back in, not just the dirt pile. A second target sitting just below or beside the first one is common enough that skipping this step costs real finds.
Your First Hour: A Simple Routine That Avoids the Common Mistakes
Put it together like this: ground balance first, sensitivity at a moderate starting point, headphones on, tone ID running instead of hard discrimination while you're still learning. Sweep slow, low, and overlapping. On every signal that sounds promising, check it from three angles before committing to dig, and read the target ID as a trend across those sweeps rather than trusting one number.
At this stage, the gear matters less than the routine. Beyond headphones and a digging tool, a few low-cost extras (a finds pouch, a spare battery and a sturdy carry bag) make a session smoother without changing how you read a signal. Our metal detecting accessories guide covers what's worth buying first and what you can skip.
None of this replaces time in the field. The target ID ranges, the tone differences, and the feel of a clean signal versus a falsing one all become second nature faster than most beginners expect. That usually happens within the first handful of outings, as long as you pay attention to what the detector is telling you rather than digging every beep.
Learning how to use a metal detector well isn't about memorizing one chart or one setting. It's about building a habit of checking signals from multiple angles, treating the target ID as a trend rather than a verdict, and paying attention to what your machine sounds like on real finds versus trash. That habit, more than any gear upgrade, is what separates a frustrating first season from a productive one.
Gear for this guide5 items

Simple first detector
Garrett ACE 300
With the discrimination and target ID settings this guide walks through
Check Price on Amazon
Waterproof first detector
Nokta Simplex Ultra
If you also want to hunt wet sand and shallow water
Check Price on Amazon
What's the best sensitivity setting for a beginner?
Start around 60 to 70 percent of the maximum, then raise it in small steps until the detector just starts to chatter on its own ground noise, and back off one or two steps from there. That's close to the real usable ceiling for your ground that day.
Do I need to ground balance every time I go out?
Re-check it whenever the ground itself changes, not just once at the start. Moving from dry soil into a damp low spot, or onto gravel or mineralized ground, can throw off a balance that was accurate minutes earlier.
Why does my metal detector give a good signal on what turns out to be iron?
That's iron falsing, caused by a mineral halo that forms around corroded iron underground. The tell is an inconsistent signal: a falsing target's tone and target ID jump around between sweeps from different angles, while a real target stays steady.
What target ID number should I look for on a coin?
On a common 0 to 99 scale, clad dimes and quarters usually land in the 80s to high 90s, and zinc pennies tend to sit a bit lower. These ranges shift by detector brand and model, so treat the number as a rough guide, not an exact answer.
Should I dig every signal when I'm starting out?
Yes, for your first several outings. Digging targets you'd normally skip, including obvious trash, is how you learn what your specific detector sounds and reads like on real trash versus real finds. Get stricter about which signals you dig once you trust your ears.
How long does it take to get good at reading a metal detector?
Most people start recognizing their detector's good-target tones and target ID ranges within the first several outings. Reliably telling iron falsing from a real signal usually takes longer, often a full season of regular hunting.